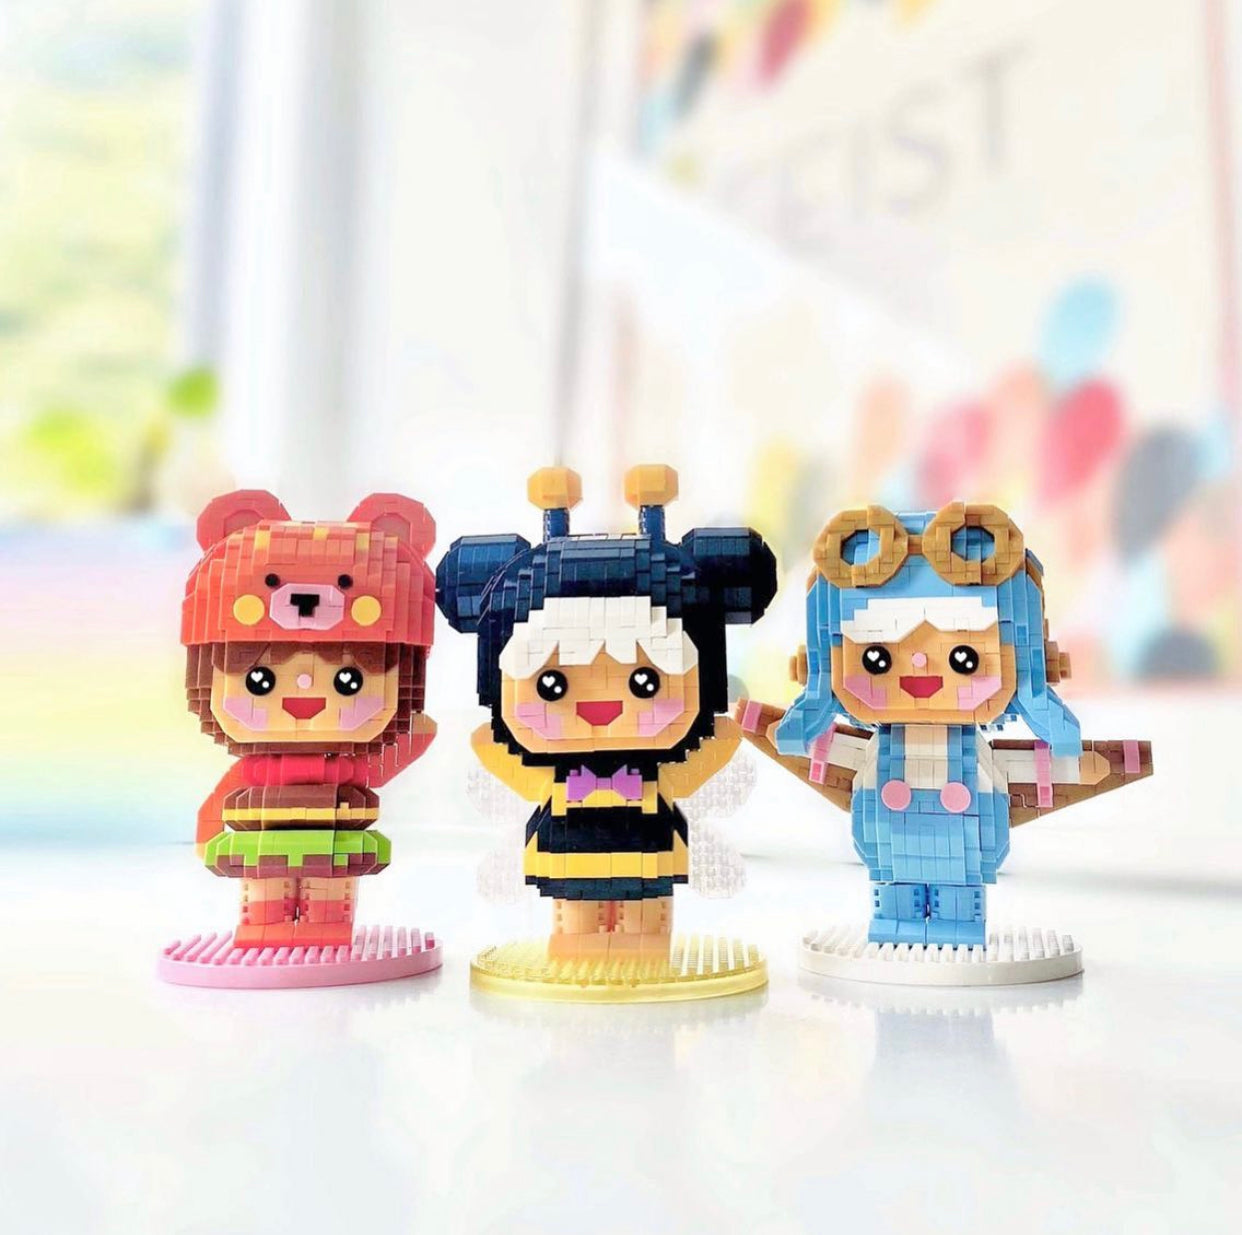
5 Top Tips for the Momiji Mini Brick Challenge
So you’re the lucky owner of a Momiji Mini Bricks set! Welcome to the family.
Before you begin, you should prepare yourself. This is not a walk in the park, a piece of cake or something you can do with one eye on Netflix.
We've put some advice together below but if you'd like to join a friendly support group to share your questions and triumphs then you'll find the Momiji Mini Bricks Club on Facebook here.
Ready for the challenge?
1. Clear some space. Allocate some time.
2. Spread out the bricks on a tray or table and take a few minutes to familiarise yourself with the instructions.
3. Different personality types take different approaches to getting started. Helena (our designer) likes to begin by sorting the bricks into mini piles of sizes and colours. This takes time but it can make the rest of the build quicker. Other people prefer to search for the required brick as they go. You do you.
4. Sometimes the first layer can be the trickiest - trying to hold it all together (a bit like life, huh?), but once you’ve created the foundation you’ll have something to build upon.
5. One of our biggest tips is making sure you have the correct bricks in place before you push them together too firmly as undoing them can be frustrating. There is a brick separator tool included in the kit.
A few things we can guarantee…
* You’ll have moments of frustration.
* You’ll make mistakes.
* You’ll become obsessed.
* It’ll all be worth it for that ‘final brick feeling’
Once you've completed your character you’re officially part of the club. Congratulations!
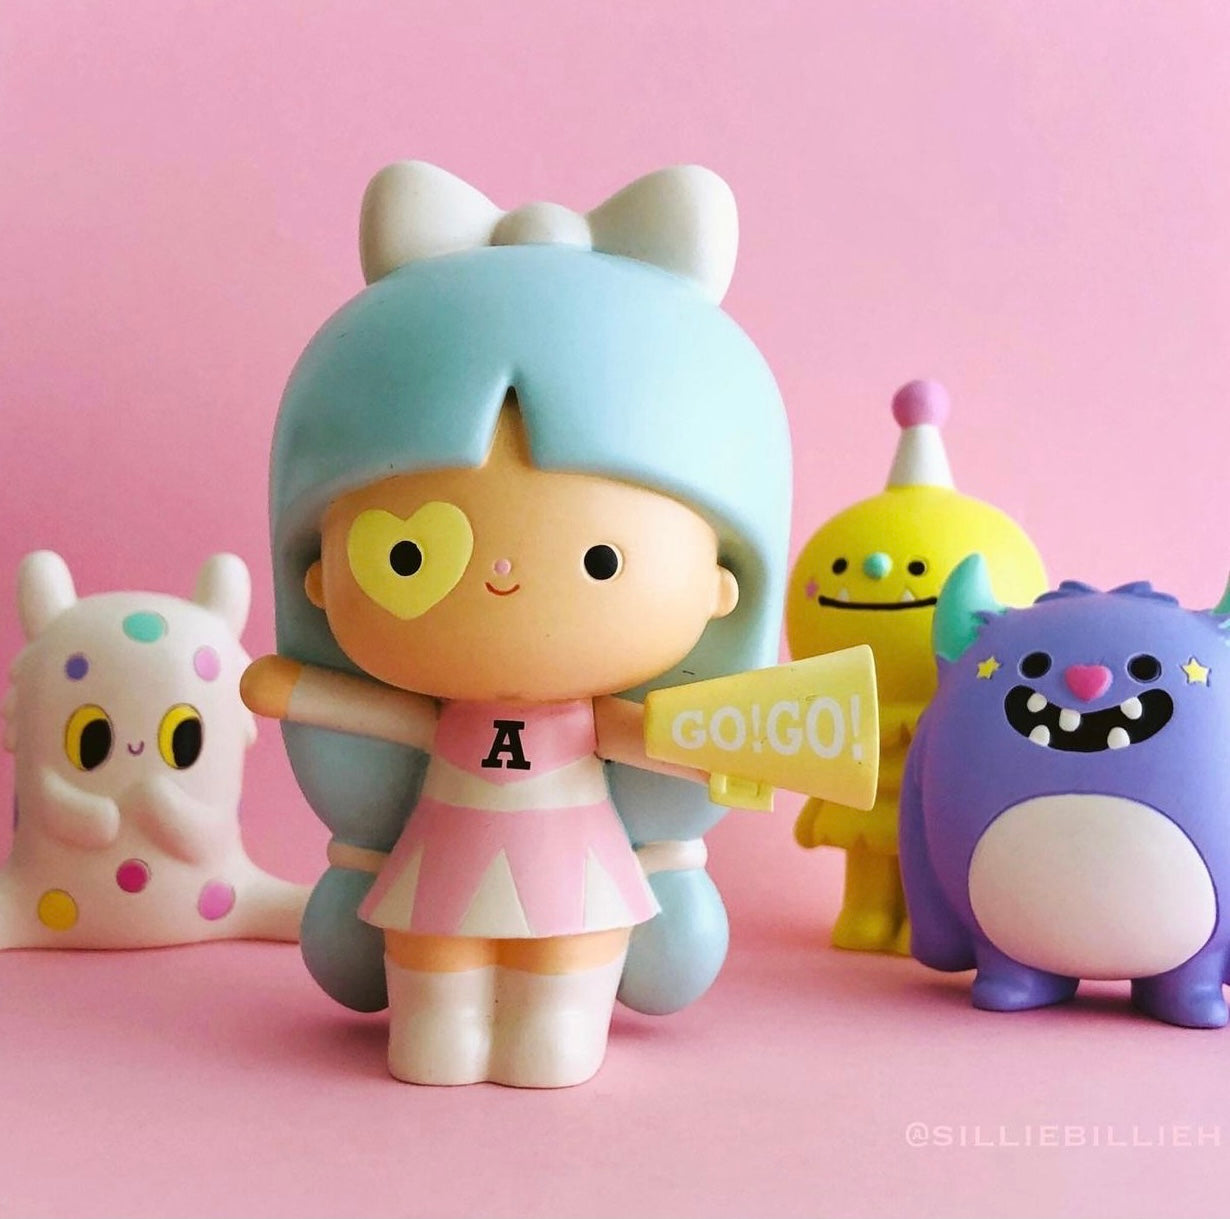
And if you’ve got the bug then you can choose your next character here UK & EU hub) or here (US hub)
We loved this video from @MomijiLovely on Instagram. Check out her super-cute account.

3 comments
Ho acquistato tutte e quattro le nuove Momiji bricks e la prima che ho cominciato a costruire è Adventure.🥰
Dopo qualche errore e due smontaggi, consiglio di dividere i mini bricks in buste numerate corrispondenti ad ogni fase di costruzione. In questo modo si rischia meno di perdere mattoncini, si controlla due volte che siano quelli giusti e si ha uno spazio di lavoro più ordinato e meno caotico.
Non vedo l’ora di vedere Adventure finita. Ci vorrà ancora qualche giorno perché è un montaggio complicato e non riesco ad essere concentrata per più di un ora ma ne vale la pena ed è un grande divertimento per me!
Queste nuove Momiji sono adorabili, bella idea. ❤️
Paola
Paola
I bought all four new Momiji bricks and the first one I started building is Adventure.🥰
After a few mistakes and two disassemblies, I recommend dividing the mini bricks into numbered envelopes corresponding to each construction phase. In this way there is less risk of losing bricks, you double check that they are the right ones and you have a tidier and less chaotic workspace.
Can’t wait to see Adventure finished.
It will still take a few days because it’s a complicated assembly and I can’t concentrate for more than an hour but it’s worth it and it’s great fun for me!
These new Momijis are adorable, nice idea. ❤️
Paola
Paola
Getting Started
I had an email from Sarah who was having difficulty getting started. She is doing the Burger Bear and I have built that one as a test before we made them. I remember that one thing I did to get started was to lay the bricks out loosely to make the first layer, as shown in the instructions. Then also lay out the second layer next to the first layer. Now you have all the right bricks you need to start joining them together.
On the instructions you can see that there are some bricks in the second layer that join two bricks on the first. I take the two bricks on the first layer and add that brick from the second layer to join them together. It’s fiddly but I then have a small group of 3. I have now started the build. I can either add to that or make another set of 3. Once these first two layers are complete then you have made a firm start.
Cam
Leave a comment
This site is protected by hCaptcha and the hCaptcha Privacy Policy and Terms of Service apply.